Showing posts with label 16th Century. Show all posts

Tuesday, November 28, 2017

A Florentine Townswoman

I'm just going to stop saying I'm back and just write.

Today I present my Lower Class Florentine:

It's a really simple gown. The purple is mid-weight linen from Fabrics-Store. The trim is black velvet ribbon. I'm wearing it over a small pocket, my red quilted petticoat, a partlet and my linen 18th century shift (One day I'll have a proper 16th century one)

The fascinating part is the bodice. I constructed it with a layer of heavy duty interfacing, and two layers of heavy drill. All the shaping is in that form and the lacing rings at the side backs. I have a couple more of this style to make so there will be more pics.

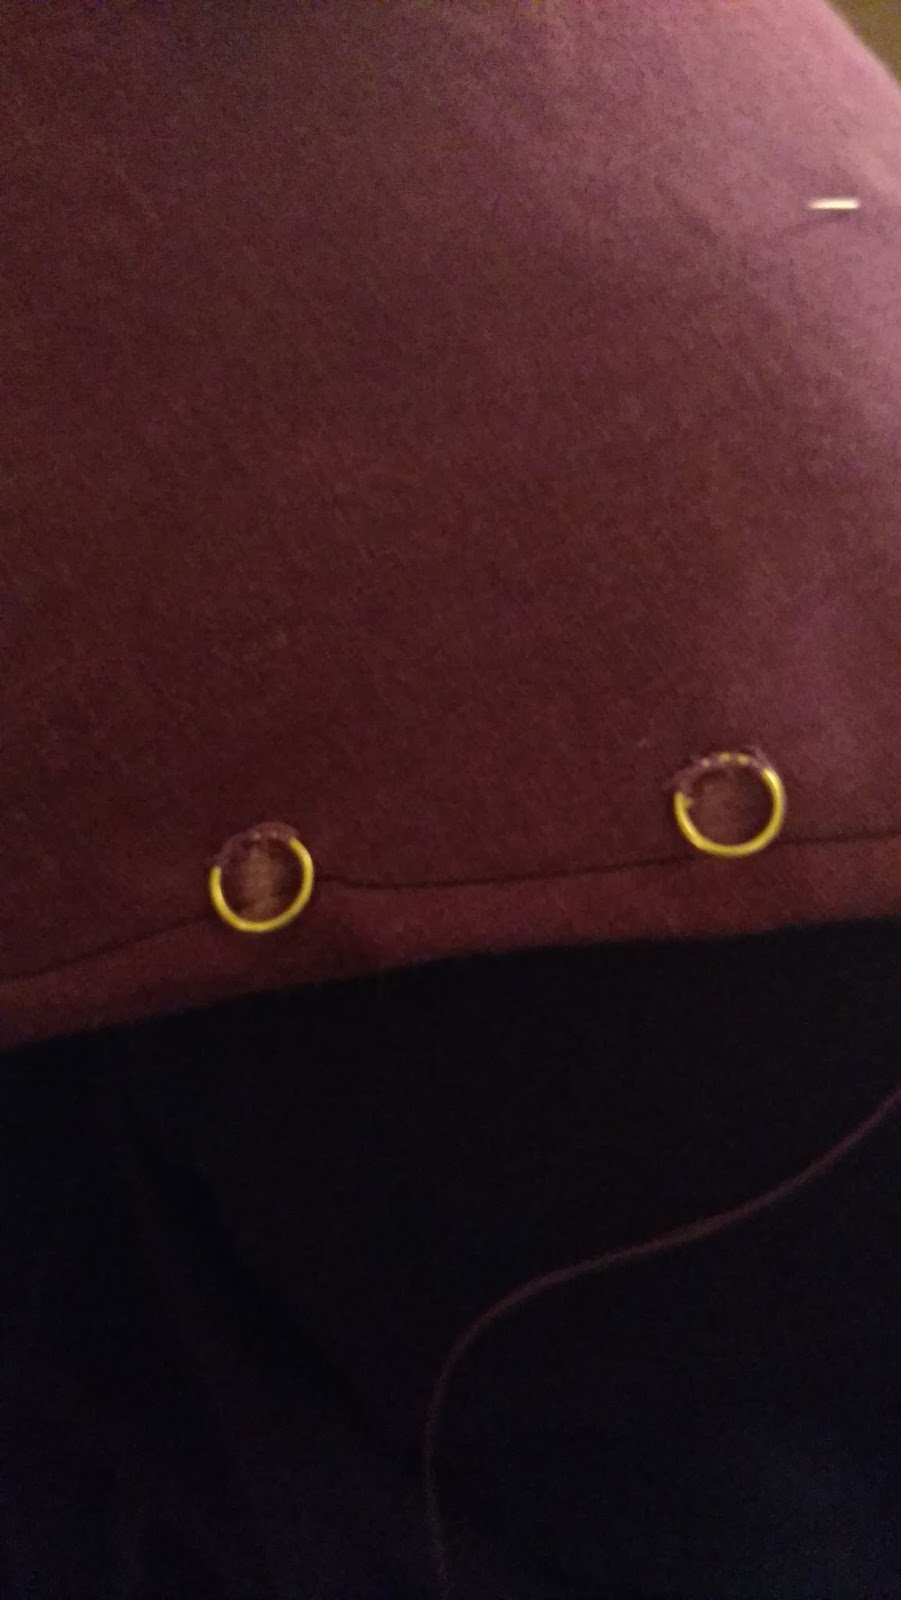
Behind the scenes showing the general bodice shapes and the lacing rings. I stitched them on with waxed embroidery floss. As long as I went through all the layers they seemed to hold up.


Of course then I had to make more...

And us at the NJ Renaissance Faire. 


And again at New York Renaissance Faire. For this one my friend borrowed my purple and I wore an old green gown that I finally finished which will be the subject of the next post 


Needless to say I have more Florentines to make and man is this gown comfy also really versitile between two different people. 

Cheers!


Friday, October 10, 2014

A Tudor Gentleman and Lady

So we plotted and planned for Faire, then life got in the way. However I got part of the plot done, and then it go adapted. And I still need to do something about these sleeves.


Close up showing the white fabric with the subtle design

Quilting the canvas interlining. I wanted to experiment with minimal boning for Tudor Dress

 Fitting. This is just two layers of cotton canvas quilted together with vertical lines as if for boning. The canvas and quilting gives quite a good shape. I added two strips of flat reed to the center front and a pair on either side of the lacing. The fashion fabric was mounted on the top of the lining. I also like how smooth the sides and front are. The only seams is the side back.

Handsewn partlet, because after wicked sunburn it is 110% necessary. 

Trims on the left: silver cord, fancy silvery trim and black velvet ribbon. And then the way they were sewn on to the right. I love using simple trim to build up the design. Just one would not be enough. And ironically the trim was the cheapest part of the gown. 

If I remember correctly this was shortly after I stitched on the last of the trim, Had to see what it looked like! This is just over my handsewn shift (because we must brag about that) and a prequilted fabric turned petticoat. 


Cheap paper fan decorated to accompany the gown. Fans in summer are very important. 


AND *drum roll* Pictures from faire!

Lover having fun!

Lover's attire as a proper abet still roguish gentleman for the day. All save the hat and bracers are from previous years. I made the hat the night before. Along with my hood. 


My gown! It actually came together really well. I lined the sleeve turn backs in net a la Jane Seymour. I also had black velvet under sleeves. Which are currently tucked in my pockets because they were too hot. I also have my French hood. I made it based off the information here: http://www.modehistorique.com/research/ReconstructingTheFrenchHood_06-2009.pdf

I did cheat a little, I do not like coifs. So my pleated ribbon is stitched on a band like a medieval veil. I also have a muslin braid beneath my hood for the braid that would have been worn of one's own hair. (Previous pictures show I do not possess sufficient hair.) Everything is then pinned together. So many pins! My neck and shoulders hurt for days after. This is quite a heavy gown and headdress. 

And a quasi close up/cute picture.

There should be more on Nefertari soon and the Celt Warrior and his Queen. As well as a head first off the high dive jump into TWO, read that TWO new eras which have previously only been dabbled in!

Cheers!
Merlina

Friday, March 7, 2014

Challenge #4: Underneath it All

I had awesome plans. I was going to keep up with the blog and have all the challenges up on time. Ha. I'm hilarious. Then the universe intervened. And I had to haul my dear laptop off to repairs and find a real job.

So without further delay I give you my pre quilted quilted petticoat for Historical Sew Fortnightly 2014 Challenge #4: Underneath it All (And as soon as I find buttons I like do I have an awesome post for Innovation.)


I am not wearing anything under it. It stands out just like that on its own. I intend to add a bit of stiffener to the hem to make it even sturdier.

I like the quilted petticoat because I have no patience for hoops or corded petticoats of any kind. This one is to be worn under a Florentine Gown with one petticoat over it. So it should stand up nice. Plus it holds my skirts out with the same umph but fewer petticoats. I'm also planning to use it for several eras. 

Here it is under a skirt. The skirt is 4 yards quilters cotton with two grosgrain ribbon guards. The petticoat holds up rather well. 


Now for the Facts:
The Challenge #4: Underneath it All
Item: Quilted Petticoat
Fabric: 3 yards prequilted red fabric (cotton fabric with polyester batting)
Pattern:
  Cut 4 rectangles at the proper waist to ankle height. And two longer ones for waistband.
Year:  I consider it rather multi era, given it gives awesome skirt support. Its true purpose is for 1570s Florentine.
Notions:  Thread
How Historically Accurate:  Cotton and Polyester are not accurate, neither is machine quilting. However, red was a popular color for petticoats. And quilted petticoats do exist, especially in the 1700s. I say 3-4/10
First Worn:  Only for the pictures and then around the house when finished. Intended for the 2014 Faire Season and then to help hold skirts out (hoops and I hate each other. Even corded ones.)
Time Spent: Took abou 15 minutes to cut out and then about 3 hours to assemble. That includes French seams because I use those on everything. So 3 hours 15 minutes
Total Cost: Fabric was on sale so $15? I bought it awhile ago.

Hopefully the dress will be soon!

Oh and my help:


Gods forbid the fabric floats away!

Cheers!
Merlina

Friday, November 1, 2013

Challenge #19: Wood, Metal, and Bone

Haha! Another post! I'm on a roll here. It also helps I have pictures and all that good stuff. Well and a bit of time and power, the power being the most important.

My entry for the 19th Challenge is a pair of bodies roughly set in the 1500s. I know there's no evidence for them, but I find one pair of stays easier to use for multiple gowns rather than building the support into each gown. Plus for an impoverished princess, it's much more cost efficient. The smock I made last summer. It's of cotton muslin and completely handsewn - save the "blackwork" on the cuffs, that was done with the fancy stitches last year on the new machine.


These stays started out as a Simplicity pattern. I tweaked it and made it my own. They are completely boned with 1/8 inch round reed, two per each 1/4 inch channel. There is one piece of 1/2 inch flat reed at center front, and at each side center back. The stays spiral lace up the back which I realize in looking at these pics was not properly done. Oops. These stays are also a valuable lesson in the importance of tabs. Tabs are your best friends for fully boned stays. Trust me. 

Now we have the universal petticoats and bumroll to amp up the skirts. I live in fear of farthangles and have only ever made one which was a disaster. Panniers ironically are much easier. I also made the necklace and earrings for this. The necklace is in need of a different ribbon, but it works. 


 I call these my universal petticoats because I wear them with everything. They're cotton muslin and have pocket slits. Two are simple pleated rectangles. The third worn in the middle has two deep ruffles. And yes they need a good starching. Bumroll is worn on my hips not my waist. I gather that's the better place for it.

And now the facts:

The Challenge #19: Wood, Metal, and Bone
Fabric: 1 yard patterned cotton, 1 yard interlining also cotton, 1 yard cotton muslin for lining
Pattern: Started as Simplicity 2621. I played and integrated the tabs, lowered the back, separated the strap. And kinda completely disregarded the instructions

Year: 1500s. More or less. 
Notions: Bias tape, pale yellow/off white. Eyelets, thread, 1/8’’ round reed, Three pieces 1/2 ‘’ flat reed for center front “busk” and back on either side of eyelets. 
How Historically Accurate: Um…reed is accurate for stays, but they are difficult to find evidence of prior to the 1580s, as far as I know. Plus cotton wasn’t used. But alas, I am a poor grad student and it is underwear. It gives the right shape. 
First Worn: Just briefly for pics. And then for the photoshoot. 
Total Cost: The reed was $10 for an American pound. The muslin is about $2 a yard. And the cotton was $12 total. So $24 total. Most was in the stash

Now for the dress!

Cheers! 
Merlina

Sunday, May 26, 2013

How Merlina Makes Pockets

How Merlina Makes Pockets
Pockets are simple. At least how I make them. I do not present this as the most historically accurate way to make pockets. This is the way I do it. Are there better ways to do this? Yes. Is it wrong to do it this way? No, at least not for me. 
 
Mine are pretty plain, I embroider fairly well I simply don't have the patience. I however applaud those who do. This was an excersise in use of stash fabric and practice with my hand sewing. Plus I like colorful underthings. Who wants white all the time?
 
And now, making a pocket or two.
 
I start with a piece of paper taped to my waist. Reach my fingers done to the edge and mark the fartest they reach. Then fold the paper in half and connect the dots for a kind of tear drop shape. Cut out and we get this:
Pocket Pattern
My hand to show shape
 
Next you cut out four of these from your choice fabric. If you want two pockets, cut two pieces if you want one. I personally prefer two. To me, there are days when one is just not enough. Mine are made from the remains of the blue medium weight linen I used for my blue hood. It's a little wrinkled, but alas linen is known to do that.
 
Four pieces of blue linen for pockets
 
Now we sew the pockets together along the tear drop shape. I did mine by hand with waxed undyed linen thread. Once I stitched down the first row of stitches, I clipped the seam allowance, and turned the pocket inside out then pinned and sewed again. Making a kind of french seam. My intention was to turn that inside again. But I thought it looked cool, so it remains.
 
Pocket sewn up
 
I am aware that this isn't period. I simply wanted to do it this way. And I like french seams, they're pretty. :) I do this for both of the pockets.
 
Then we cut a slit down the center to allow one to access said pocket. I bound the slit with self fabric bias tape.
 
 
Pocket with finished slit
 
 
We shall repeat this on the other pocket so there are two. Then stitch them onto a tape or more self fabric bias tape. In this case a piece of yellow linen from my yellow Marian gown, which still isn't finished (damned sleevils). I place my pockets at my sides over my hips. All my petticoats have the same placed slit to access them.
 
Et, voila! Finished pockets!
Aren't they all bright and cheerful?
 
Perfect for my cell and ID, and money for the next historical adventure! And possibly some cleverly historical pocket trappings. What historical lady doesn't want a letter from her beloved? Or a little token to show off?
 
Next up on the sewing run is a recycled fabric red petticoat. The color is actually accurate, but that's for another post. And so much better than boring white. I'm not knocking white, but really who doesn't want a red petticoat? Sounds fun to me.
 
Cheers,
Merlina

Saturday, May 25, 2013

For the Love of Pockets

For those of us who venture forth into the past from our humble modern beginnings are forever tasked with hiding the common place items we use in modern life. Things like cell phones, keys, ID, cash and credit cards among numerous others. Now certainly we have the option of a purse. Reticules were very popular in the Regency Era and after. Pouches hanging from belts can also work. Which is all fine and dandy but I have tried both, and find neither to my liking. Which brings us to an Eighteenth Century necessity, the pocket.

Pinned Image
Pockets found via Pinterest, claim to belong to the Bath Museum
 
These clever little pockets are on a tape and tie around one's waist beneath one's skirts. They vary in size and can hold quite a lot of things. Perfect to hide away the cell phone and other 21st century necessities. 
 
Now what follows is my opinon, just me theorizing. So don't jump down my throat. I have little to back up my thoughts besides theory.
 
Pockets to me are one of the most useful pieces of historical fashion. I have worn them under dresses dating from the Tudor era all the way up to the 1860s (exception being the Regency). They hide out easily under the layers of skirts and skirt supports. As far as I know there is no evidence to back this, but I don't think something this useful just suddenly appeared in the 1700s. Although I believe the idea of a pouch on a belt under one's outer skirt is mentioned in The Tudor Tailor.
 
If my theory is true, which greater minds then mine may already know, the question ranks what happened to all the pockets? The same thing that happened to all the other extant clothes. Only the fancy pockets survive. But if the majority of the world worked and used pockets, I think the pockets would have been plain, and used until they could no longer be repaired. So that's my theory, if anyone asks.
 
Now on to the good stuff.
 
I have had a pair of plain machine sewn white pockets for ages. They were of a heavier fabric, maybe a cotton, maybe a blend with bright teal bias tape to finish the slits. I do know there is a picture of them, I don't know where it is.
 
Unfortunately, my pockets became a victim of the ferious black cat. (He's really not that ferious, rather adorable) They were scratched up and taken to parts unknown. Therefore I now need new pockets. Which I will show you how to make in my next post!